English
  Spanish
  Italian
  Polish
  Japanese
  German
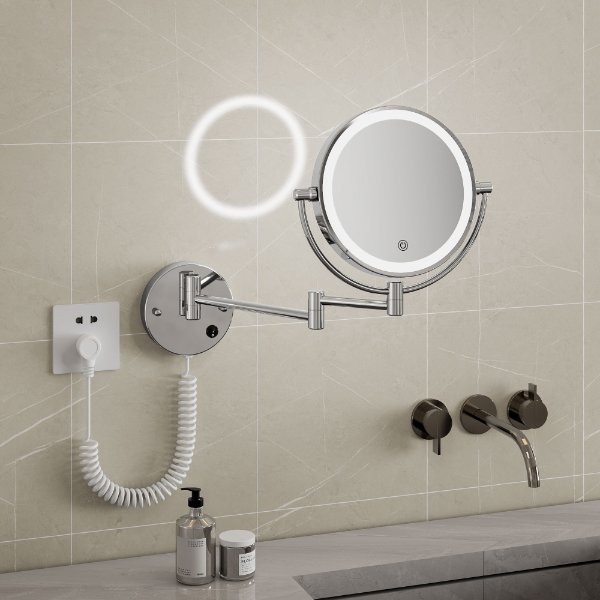
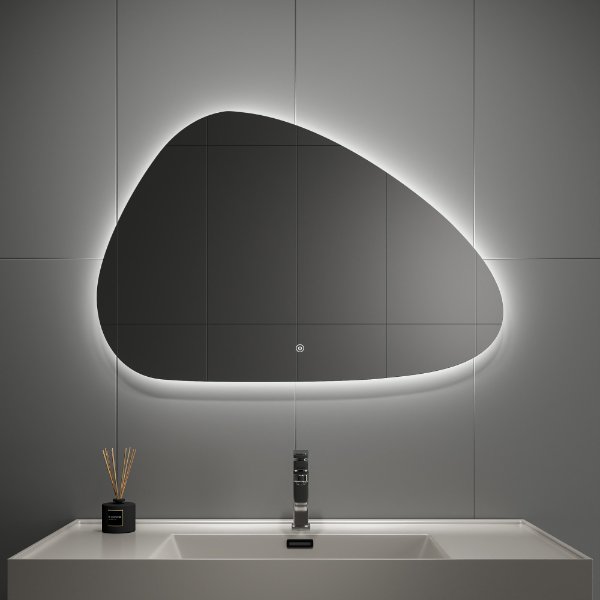
 How to Install Your RM390 LED Wall Mounted Makeup Vanity Mirror
How to Install Your RM390 LED Wall Mounted Makeup Vanity Mirror
Follow these simple steps to install your RM390 LED Wall Mounted Makeup Vanity Mirror securely and efficiently. Ensure you have all necessary tools and materials ready before beginning the installation process.
Installation Steps
Unscrew the 2 screw caps and remove the base panel.
Start by carefully unscrewing the two screw caps at the base of the mirror. Once removed, gently take off the base panel to expose the mounting holes.Choose a desired location to install. Mark 2 of the holes against the wall.
Select an appropriate location on your wall for the mirror installation. Hold the base panel against the wall and use a pencil to mark the positions of the two mounting holes.Drill holes (diameter of 6mm) and install expansion anchors on the wall.
Using a drill with a 6mm bit, drill holes at the marked positions. Insert the expansion anchors into the drilled holes to provide a secure foundation for the screws.Install the 2 expansion anchors on the 2 holes.
Ensure the expansion anchors are fully inserted into the holes. Tap them lightly with a hammer if necessary to secure them in place.Apply base panel and install screws.
Place the base panel back against the wall, aligning it with the installed expansion anchors. Insert the screws through the base panel holes and into the anchors. Tighten the screws securely to ensure the base panel is firmly attached to the wall.Apply mirror and tighten the screw caps.
Position the mirror onto the base panel and reattach the screw caps. Tighten them securely to ensure the mirror is stable and correctly mounted.
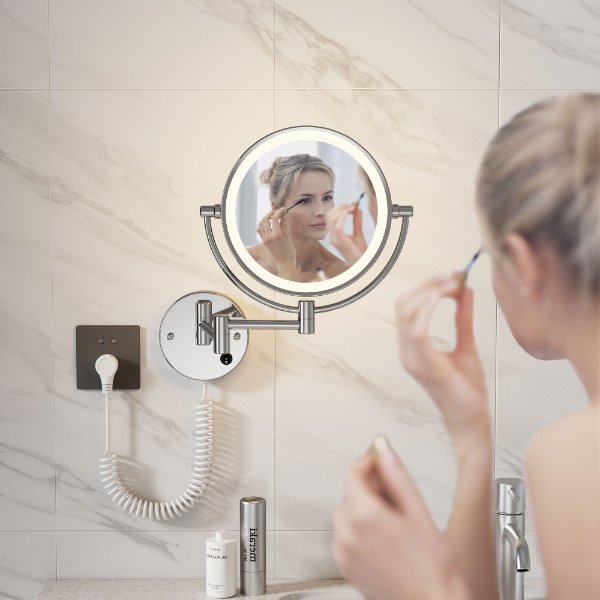
Enjoy Your New RM390 LED Wall Mounted Makeup Vanity Mirror
Once installed, your RM390 mirror will enhance your grooming and makeup application experience with its advanced lighting and magnification features. If you have any questions or need further assistance, please contact our customer support.